A few years back, I got myself a new master keyboard for my home studio. I wanted a keyboard that would integrate well with my DAW, and since I’m working in Reason I opted for the Panorama P6 from Nektar.

It’s a great master keyboard with a full-size 5-octave semi-weighted keybed, 9 sliders + 1 motorised master slider, 18 encoders and 12 drum pads.
The keybed has velocity and aftertouch, of course (albeit only channel aftertouch since it was released back in 2013), but the semi-weighted nature of the keys means they feel more like synth keys that piano ones. This is not a problem in itself, as such keys are very useful in their own right. But since they are designed to look like piano keys – it’s even got a red ‘felt’ strip at the top edge of the keybed – it would be great if their feel was more like that of a piano too.
The idea
Then, a while back I happened to see a video on Youtube where they modded a MIDI keyboard to become weighted using car wheel weights. You know: the little iron blocks that the mechanics glue to your car wheels to balance them.

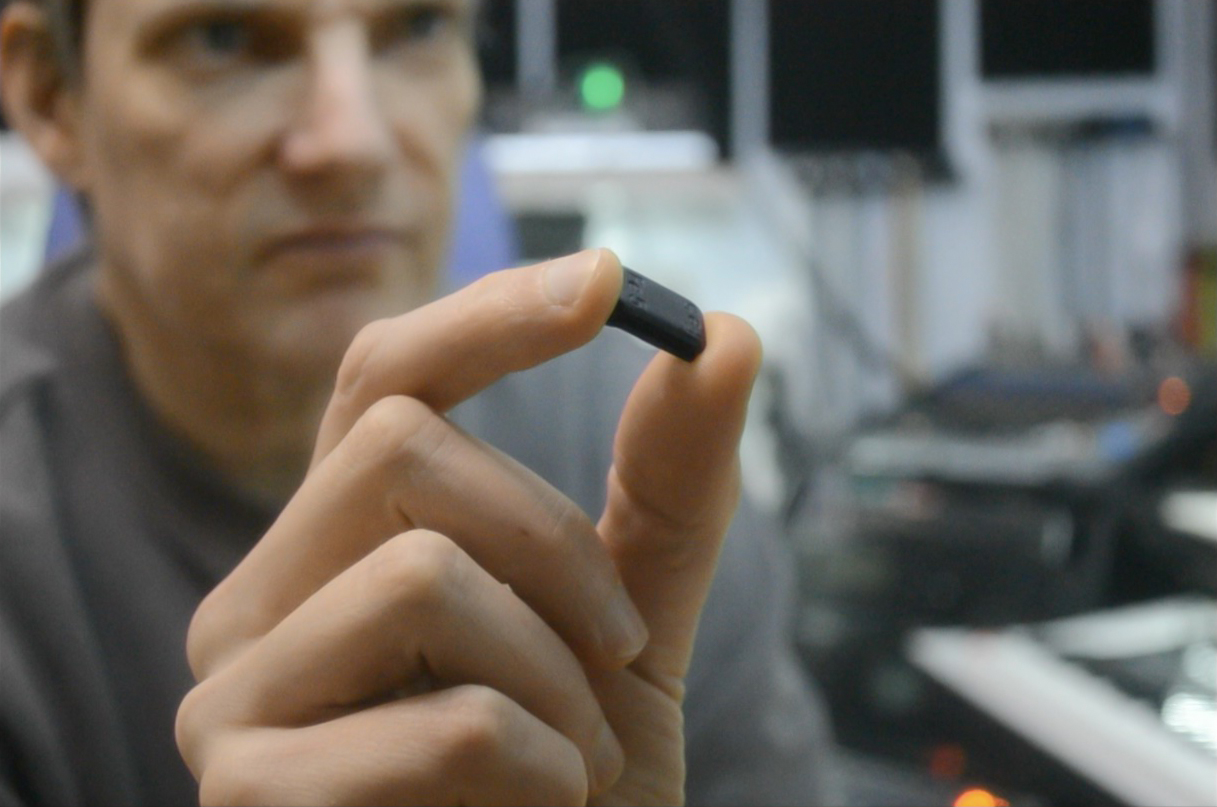
So, I ordered a bag of 300 wheel weights at 5g apiece. After the customary wait on delivery, I received a small but very heavy bag full of strips with wheel weights.
I had already made a plan for how to distribute the weight across the keyboard, so that I could have heavier keys at the bottom and lighter ones at the top – mimicking the mechanics of a real acoustic piano.

The work
So, with everything ready, it was time to take my trusted Panorama P6 apart to get access to the keys. Luckily, I had some official disassembly instructions from Nektar, so I knew what screws to remove. Which, it turned out, was every single one. First, I had to unscrew 32 recessed screws, which was annoying as some of the recesses were too narrow for my power tool, which meant I had to undo them using a jeweller’s screwdriver.
After that, I could carefully lift the top off the keyboard and detach the ribbon and power cables. Now, the keybed was exposed and I could either remove each key in turn or unscrew the whole keybed and turn it over to access the inside of the keys.

Adding the weights was pretty straight forward. They are self-adhesive, so I just had to peel off the protective backing sheet and press them into place inside the keys. This worked without a problem for the white keys, but for the black keys I had to remove each key to access its insides.

To get to the black keys, I had to first remove the adjacent white keys, since they were locked together like a 3D puzzle.

To remove individual keys, I first detached the spring at the back of the key. I had to be careful not to lose any of the springs – they are prone to jump away when you remove them. Also, there are two different types of springs: shorter ones for the black keys and longer ones for the white.

For C1 – B2, I could add the 5 weights by squeezing them into place at the outer end of the white keys. The 3 weights for the black keys could be fastened to one of the walls, but the the third weight wouldn’t fit within the length of the key and had to be placed vertically against the opposite wall.

For C3 – B4, there were 4 weights for the white keys, so I just left out the middle one. Similarly, the black keys just had the 2 weights along one of the walls.

And for the top octave, I only had 3 weights per white key, so I placed them in a column against the flat underside. The black keys only had 1 weight, which was placed at the outer edge along the wall.

I found it very useful to continuously test the weight of the keys as I was working, to make sure I didn’t made them too heavy – which could have caused the keys to droop – or too light.
Once all the keys had been treated, i was time to reassemble the keyboard again. I just did what I did when I took it apart, but in reverse. Luckily, I still had all the screws..!
After I had finished the weight mod, the feel of the keys was substantially heavier – as was the whole keyboard; I had just added almost a kilo of metal to it, after all – and they were more like the keys of an acoustic or digital piano. I found that I had to tweak the velocity curve to get back to a behaviour that fitted my playing style.
The mistakes
Since some of recesses for the screws on the underside were just 7mm wide, none of my phillips screwdriver bits would fit. As I mentioned above, I had to resort to using a jeweller’s screwdriver instead, which meant it took a long time to remove all the screws. In hindsight, I would have been better off if I had sourced some narrower bits to my power tool in advance.
Once I had finally put everything back together, I noticed to my dismay that one of the keys was drooping. A spring must have come loose somehow. Time to take it apart again… Goddammit.

The result
With the mod all done, the Nektar Panorama P6 feels like a very different keyboard. While not having a mechanical hammer action, the weights do add a substantial feel to the keys.
One drawback that I noticed, is that with the keys now being heavier and slower, it’s not as easy to do very fast drills on the keys. You can still do it, but you have to adjust your technique. I guess there’s a physical limit to how fast you can retrigger the keys, now that they’re weighted, but I haven’t found that to be a problem in real life.
I’ve added a short video where I play the Radical Piano instrument in Reason, with a healthy dollop of reverb. It really does feel more like sitting at a real piano!